This tutorial will guide you through creating a simple file uploading app with Sealious. You’ll learn how to create:
- a sealious-based app from scratch using sealious-playground;
- a sealious collection that contains a file;
- a list of all photos;
- a form for uploading and editing the photos;
0. Prepare tools
Make sure you have docker and tmux installed. httpie will also come in handy.
1. Create a new sealious app
Run
$> npm init sealious-app
Need to install the following packages:
  create-sealious-app@0.9.3
Ok to proceed? (y) y
✔ Name for the new repository: … my-app
This will clone all the necessary foundational code and help you get started with your app.
go to the newly created dir and start the app with npm run watch:
cd photo-app
npm run watch
You should see your terminal split in four parts:
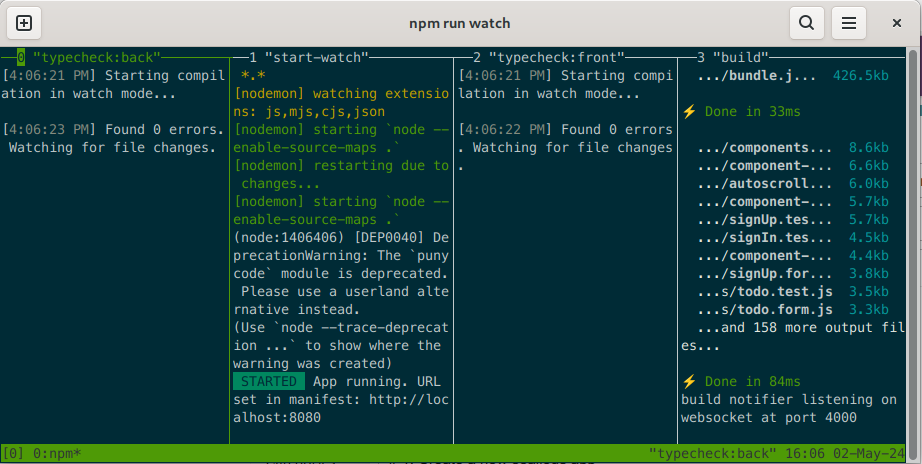
The second panel from the left is the application log. The rest are build and typecheck outputs.
You can now visit http://localhost:8080 in your browser to see the app live
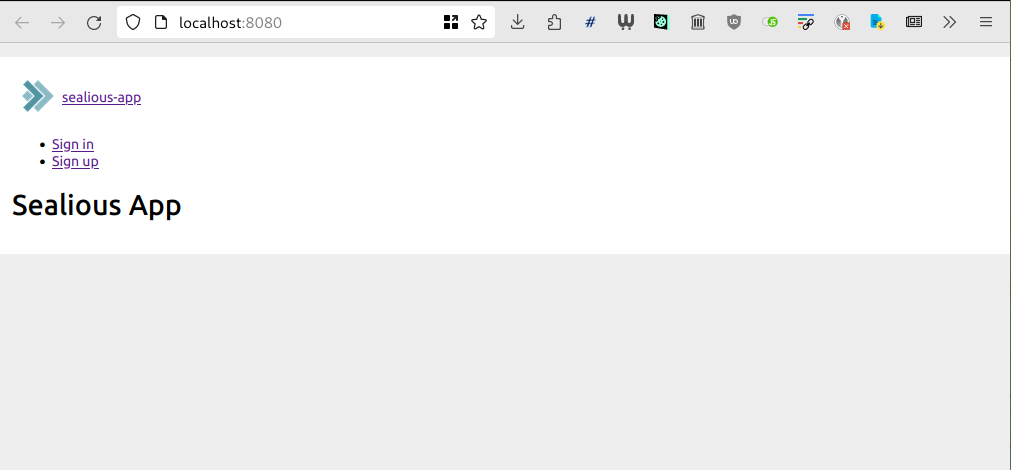
The app won’t do much now - let’s add some functionality to it!
2. Adding a collection
Open a new tab in your terminal and run
npx sealgen add-collection
It will guide you through creating files necessary to add a new collection to the app.
$> npx sealgen add-collection
What's the name of the collection class: Photos
/tmp/photo-app/src/back/collections/photos.ts created
Successfuly generated new src/back/collections/collections.ts file
It created src/back/collections/photos.ts that you can start customizing:
import { Collection, FieldTypes, Policies } from "sealious";

export default class Photos extends Collection {
	fields = {
		content: new FieldTypes.Text(),
	};
	defaultPolicy = new Policies.Public();
}
We’re going to change the fields attribute to reflect a simple structure of a file with some description:
fields = {
	photo: new FieldTypes.Image().setRequired(true),
	description: new FieldTypes.Text().setRequired(true),
};
note that we’re using .setRequired(true) to mark these fields as required.
That’s it! Your app should automatically restart with that collection ready to go. You can test it using the HTTP REST API - by visiting http://localhost:8080/api/v1/collections/photos.
So far, it’s just an empty JSON string. Let’s add something to that collection by using httpie (~/Pictures/important.png is a path to some image file on the disk) :
$> http -f POST http://localhost:8080/api/v1/collections/photos \
   photo@~/Pictures/important.png

HTTP/1.1 403 Forbidden
Connection: keep-alive
Content-Length: 191
Content-Type: application/json; charset=utf-8
Date: Thu, 02 May 2024 14:24:44 GMT
Keep-Alive: timeout=5

{
    "data": {
        "collection": "photos",
        "field_messages": {
            "description": {
                "message": "Missing value for field 'description'."
            }
        },
        "other_messages": []
    },
    "message": "Invalid field values",
    "type": "validation"
}
The request failed, because we didn’t provide the description key. I did that on purpose, just to showcase the fact that the API has validation and error message generation built-in. Here’s a full command, that includes the description:
$> http -f POST http://localhost:8080/api/v1/collections/photos \
   photo@~/Pictures/important.png \
   description="Important picture"

HTTP/1.1 201 Created
Connection: keep-alive
Content-Length: 158
Content-Type: application/json; charset=utf-8
Date: Thu, 02 May 2024 14:27:46 GMT
Keep-Alive: timeout=5

{
    "description": "Important picture",
    "id": "kGnQ2xpCY",
    "photo": "http://localhost:8080/api/v1/uploaded-files/persistent/ef694f9d-002a-4188-90ea-4a6bd7ad206e.png"
}
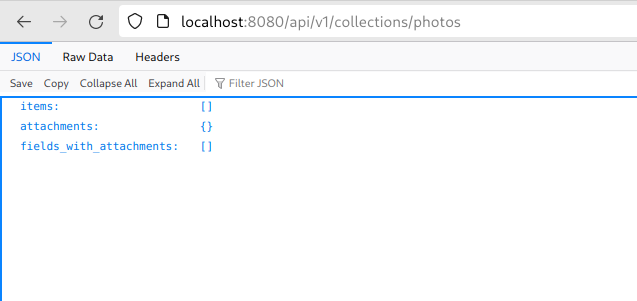
The picture has been uploaded! Now when you list all photos with the API, you can see it:

If you follow the link from the photo field, you’re going to get your freshly uploaded photo:

So… that’s it! The collection is ready. Now, for the GUI.
3. Show a list of all photos
Run npx sealgen add-route in the terminal and answer the questions it asks you as follows:

Sealgen knows what collections are registered in the app so you can easily pick the one you have in mind.
After confirming your choices, sealgen will create an src/back/routes/photos.list.tsx file and mount it so it runs when you visit http://localhost:8080/photos.
The photos.list.tsx consists of the following parts:
The filters
const filterFields = [
	{ field: "photo", render: DefaultListFilters.fallback },
	{ field: "description", render: DefaultListFilters["text"] },
] as {
	field: keyof (typeof Photos)["fields"];
	render?: ListFilterRender;
}[];
The filterFields array describes what fields can be used to filter the list. If you want to remove a filter from the top of the view, remove it from this array.
The columns
const displayFields = [
	{
		field: "photo",
		label: "photo",
		format: async (value: FilePointer) => {
			return imageRouter.image(await value.getPath(), {
				container: { width: 45, height: 45 },
			});
		},
	},
	{ field: "description", label: "description" },
] as {
	field: string;
	label: string;
	format?: (value: unknown) => FlatTemplatable;
}[];
The displayFields array controls what fields of each item in the list are displayed in the table. You can configure the label and the format function to tweak it to your liking.
In this case sealgen automatically generated a format function for the photo field. It returns a responsive image scaled down to 45 css pixels in width and height. Scaling of the photos is automatic and is handled server-side, with appropriate caching.
To remove a field-based column from view, remove it from this array. To add a custom column, don’t use this array – read on to see what to do, instead.
renderItem function
async renderItem(ctx: Context, item: CollectionItem<typeof Photos>) {
	return (
		<tr>
			{displayFields.map(({ field, format }) => {
				// eslint-disable-next-line @typescript-eslint/no-unsafe-assignment, @typescript-eslint/consistent-type-assertions, @typescript-eslint/no-explicit-any
				const value = item.get(field as any);
				return <td>{format ? format(value) : value}</td>;
			})}
		</tr>
	);
}
This function will be called for each item in the list - in this case it renders a table row with all the fields from the displayFields array described above. If you want to add any custom columns, like “view this item” or “edit this”, etc, do so by adding another <td> to the output of this function.
4. Adding a link to see the page for that item
We’re going to create a separate path that will display the photo and its description on a separate, standalone page, and then link to it in the photos list.
$> npx sealgen add-route
✔ What's the name of the action (e.g. "AddUser"):  … PhotoView
✔ Enter a full absolute path for the new route:  … /photos/:id
✔ What kind of route is it? › page
/tmp/photo-app/src/back/routes/photos/[id].page.tsx created
/tmp/photo-app/src/back/routes/photos/[id].test.ts created
Successfuly generated new src/back/routes/routes.ts and src/back/routes/urls.ts
You can see that in the /photo/:id path told Sealgen to use, one of the segments starts with a :. That means that this segment is a parameter, and the code in /src/back/routes/photo/[id].page.tsx will run when visiting a url like /photos/1231asidfaoi or /photos/any-id. Let’s take a look at the code that Sealgen generated:
import type { Context } from "koa";
import { TempstreamJSX } from "tempstream";
import { Page } from "@sealcode/sealgen";
import html from "../../html.js";

export const actionName = "PhotoView";

export default new (class PhotoViewPage extends Page {
	// eslint-disable-next-line @typescript-eslint/no-unused-vars
	async canAccess(_: Context) {
		return { canAccess: true, message: "" };
	}

	async render(ctx: Context) {
		return html(ctx, "PhotoView", <div></div>);
	}
})();
It’s just a simple page that has no content. In the render function, though, we can read what :id is present in the URL and fetch the appropriate photo entry:
async render(ctx: Context) {
const id = ctx.params.id;
if (!id) {
throw new Error("missing ID");
}
const photo_promise = ctx.$app.collections.photos.getByID(ctx.$context, id);
return html(
ctx,
"PhotoView",
photo_promise.then(async (photo) => {
return (
<div>
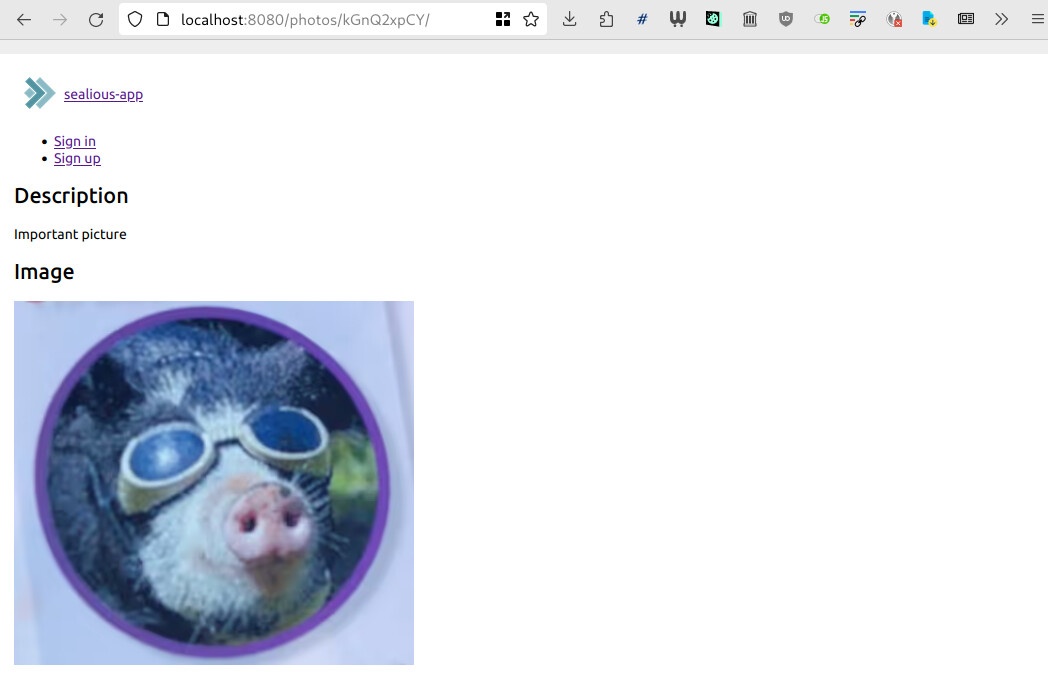
<h2>Description</h2>
<p>{photo.get("description")}</p>
<h2>Image</h2>
{imageRouter.image(
// eslint-disable-next-line @typescript-eslint/consistent-type-assertions
await (photo.get("photo") as FilePointer).getPath(),
{
container: { width: 400, height: 400 },
}
)}
</div>
);
})
);
}
Now when you visit a url like http://localhost:8080/photos/kGnQ2xpCY/, you can see the photo and its description in their full glory!
5. Adding a link to view a given photo from the list
Now let’s link the list view and single item view together. We’ll add a link to the items list.
//...
import { PhotoViewURL } from "./urls.js";

//...

async renderItem(ctx: Context, item: CollectionItem<typeof Photos>) {
	return (
		<tr>
			{displayFields.map(({ field, format }) => {
				// eslint-disable-next-line @typescript-eslint/no-unsafe-assignment, @typescript-eslint/consistent-type-assertions, @typescript-eslint/no-explicit-any
				const value = item.get(field as any);
				return <td>{format ? format(value) : value}</td>;
			})}
			<td>
				<a href={PhotoViewURL(item.id)}>View</a>
			</td>
		</tr>
	);
}
You can see that we imported the PhotoViewURL function that generates the proper url to that single view. We use it in the renderItem function to create a link that leads to that new item. If you ever move the file that renders a particular view, its URL changes as well - and will be automaticly detected by the PhotoViewURL function, so you won’t have to remember to change the URLs everywhere else.
You don’t have to manually import the PhotoViewURL variable - just start typing PhotoViewURL and your IDE should pick it up and import it for you.

Almost there! We just need to add another column to the table header. For this purpose we’re going to overwrite the renderTableHead method:
renderTableHead(
	ctx: Context,
	fields: { field: string; label?: string }[]
): FlatTemplatable {
	return tempstream/* HTML */ `<thead>
		<tr>
			${fields.map(({ label, field }) => this.renderHeading(ctx, field, label))}
			<th>Actions</th>
		</tr>
	</thead>`;
}
You can see that we still use auto-generate most of the columns in the header, and we added one custom cell that says “Actions”.
6. Adding an upload form
Let’s now create an upload form to let users add new photos without having to open up Terminal. Run npx sealgen add-route and give the following answers:
$> npx sealgen add-route
✔ What's the name of the action (e.g. "AddUser"):  … AddPhoto
✔ Enter a full absolute path for the new route (for example: /admin/users/:id/edit):  … /photos/add
✔ What kind of route is it? › form
/tmp/photo-app/src/back/routes/photos/add.form.ts created
Now visit the src/back/routes/photos/add.form.ts file to see the scaffolding of a form:
Similar to the list file, we have a list of fields:
const fields = {
	email: new Fields.CollectionField(true, Users.fields.email),
	password: new Fields.SimpleFormField(true),
};
These define the shape of the data processed by the form. The ones you see above are the placeholder fields that showcase the syntax and you can safely ignore them.
We also have controls:
	controls = [
		new Controls.SimpleInput(fields.email, { label: "Email:", type: "email" }),
		new Controls.SimpleInput(fields.password, {
			label: "Password:",
			type: "password",
		}),
	];
They define what elements are visible in the form.
(you can remove the validate method for now - it’s not covered by this tutorial)
Let’s give it a proper shape! First, we need two fields - one for the image, one for the description.
const fields = {
	photo: new Fields.File(true, TheFileManager),
	description: new Fields.SimpleFormField(true),
};
And one control for each of those:
	controls = [
		new Controls.Photo(fields.photo, imageRouter),
		new Controls.SimpleInput(fields.description),
	];
Both TheFileManager and imageRouter can be automatically imported by your IDE - no need to look for import paths by hand.

The form works now… but it doesn’t yet do anything. We can now receive the values from the form in the onSubmit method and create a new entry in the photos collection based on that:
import type { FormData } from "@sealcode/sealgen";

// ^ don't forget about this import

/// then, within the form class:


async onSubmit(ctx: Context, data: FormData) {
	const { parsed: photo } = await this.fields.photo.getValue(ctx, data.raw_values);
	const { parsed: description } = await this.fields.description.getValue(
		ctx,
		data.raw_values
	);
	const new_photo = photo.new;
	await ctx.$app.collections.photos.create(ctx.$context, {
		...(new_photo? {photo: new_photo} : {}),
		description: description || "",
	});
	return;
}
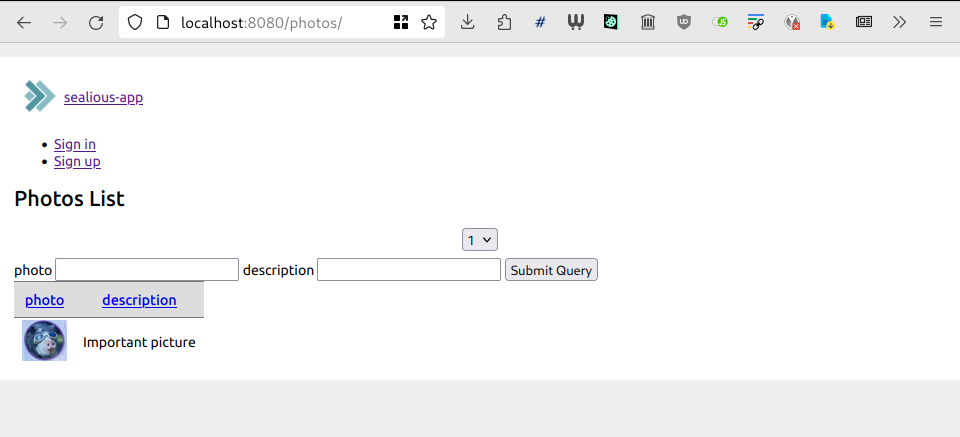
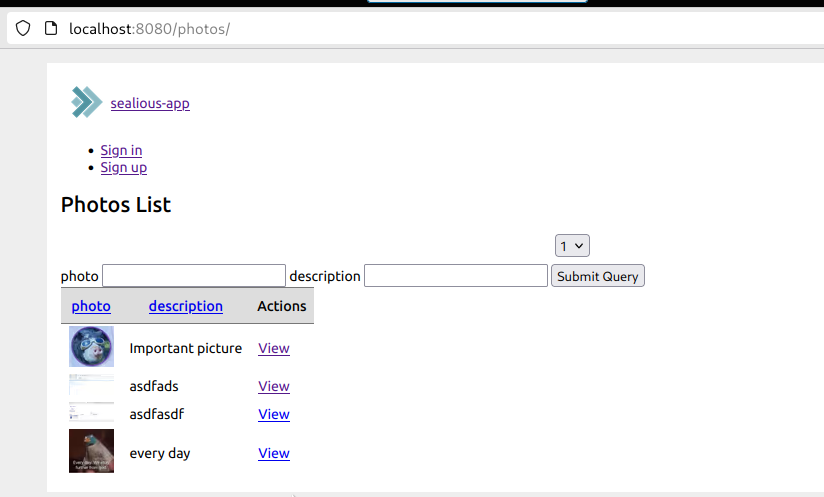
Now try to submit a few pictures through the form and see them appear on the list ![]()
![]()
Let’s also add a simple link to the upload form for convenience:
async render(ctx: Context) {
	return html(
		ctx,
		"Photos",
		<div>
			<h2>Photos List</h2>
			<a href={AddPhotoURL}>Add</a>
			<table class="sealious-list">
				{this.renderTableHead(ctx, displayFields)}
				<tbody>{super.render(ctx)}</tbody>
			</table>
		</div>
	);
}
7. Editing form
The editing form will be similar to the create form, with two significant changes:
- When displayed, it should show the current values of the fields
- When submitted, it should edit an existing item instead of creating a new one
Let’s get started!
Adding a new route
We’ll add the route at /photos/:id/edit. Call npx sealgen add-route and give the following answers:
$>  npx sealgen add-route
✔ What's the name of the action (e.g. "AddUser"):  … EditPhoto
✔ Enter a full absolute path for the new route:  … /photos/:id/edit
✔ What kind of route is it? › form

/tmp/photo-app/src/back/routes/photos/[id]/edit.form.ts created
Reusing the create form
To avoid duplicating code, let’s reuse as much as possible from the create form. To do that, unwrap the form in /src/back/routes/photos/add.form.ts like so:
export class AddPhotoForm extends Form<typeof fields, void> {
	defaultSuccessMessage = "Formularz wypełniony poprawnie";
	fields = fields;
///.... all the other methods
}

export default new AddPhotoForm();
Thanks to that we can import it in the edit form.
Remove everything below export const actionName = "EditPhoto"; in /src/back/routes/photos/[id]/edit.form.ts and put this below:
import { AddPhotoForm } from "../add.form.js";
class EditPhotoForm extends AddPhotoForm {
}

export default new EditPhotoForm();
This will be the basis for our new form. First, let’s use getInitialValues to load the values from the form:
class EditPhotoForm extends AddPhotoForm {
	async getInitialValues(ctx: Context) {
		const id = ctx.params.id;
		if (!id) {
			throw new Error("No id specified!");
		}
		const photo = await ctx.$app.collections.photos.getByID(ctx.$context, id);
		return {
			description: photo.get("description"),
			photo: { old: photo.get("photo") },
		};
	}
}
Now the form will display the values from the database:

Now, don’t submit it yet - we first have to make that form edit a photo instead of creating a new one:
import type { FormData } from "@sealcode/sealgen";
// ^ again, import this first

// ...then, inside the form class:

async onSubmit(ctx: Context, data: FormData) {
	const id = ctx.params.id;
	if (!id) {
		throw new Error("No id specified!");
	}
	const { parsed: photo } = await this.fields.photo.getValue(ctx, data.raw_values);
	const { parsed: description } = await this.fields.description.getValue(
		ctx,
		data.raw_values
	);
	const new_photo = photo.new;
	if (!new_photo) {
		throw new Error("Missing photo!");
	}
	const photo_item = await ctx.$app.collections.photos.getByID(ctx.$context, id);
	photo_item.setMultiple({
		photo: new_photo,
		description: description || "",
	});
	await photo_item.save(ctx.$context);
	return;
}
And.. that’s it! After adding some more links, we get an experience like this:
You can find the full repo of the photo app for reference here: Making sure you're not a bot!